How to Use Drip Irrigation Systems in Home Gardens: A Beginner’s Guide
Understanding the Benefits of Drip Irrigation
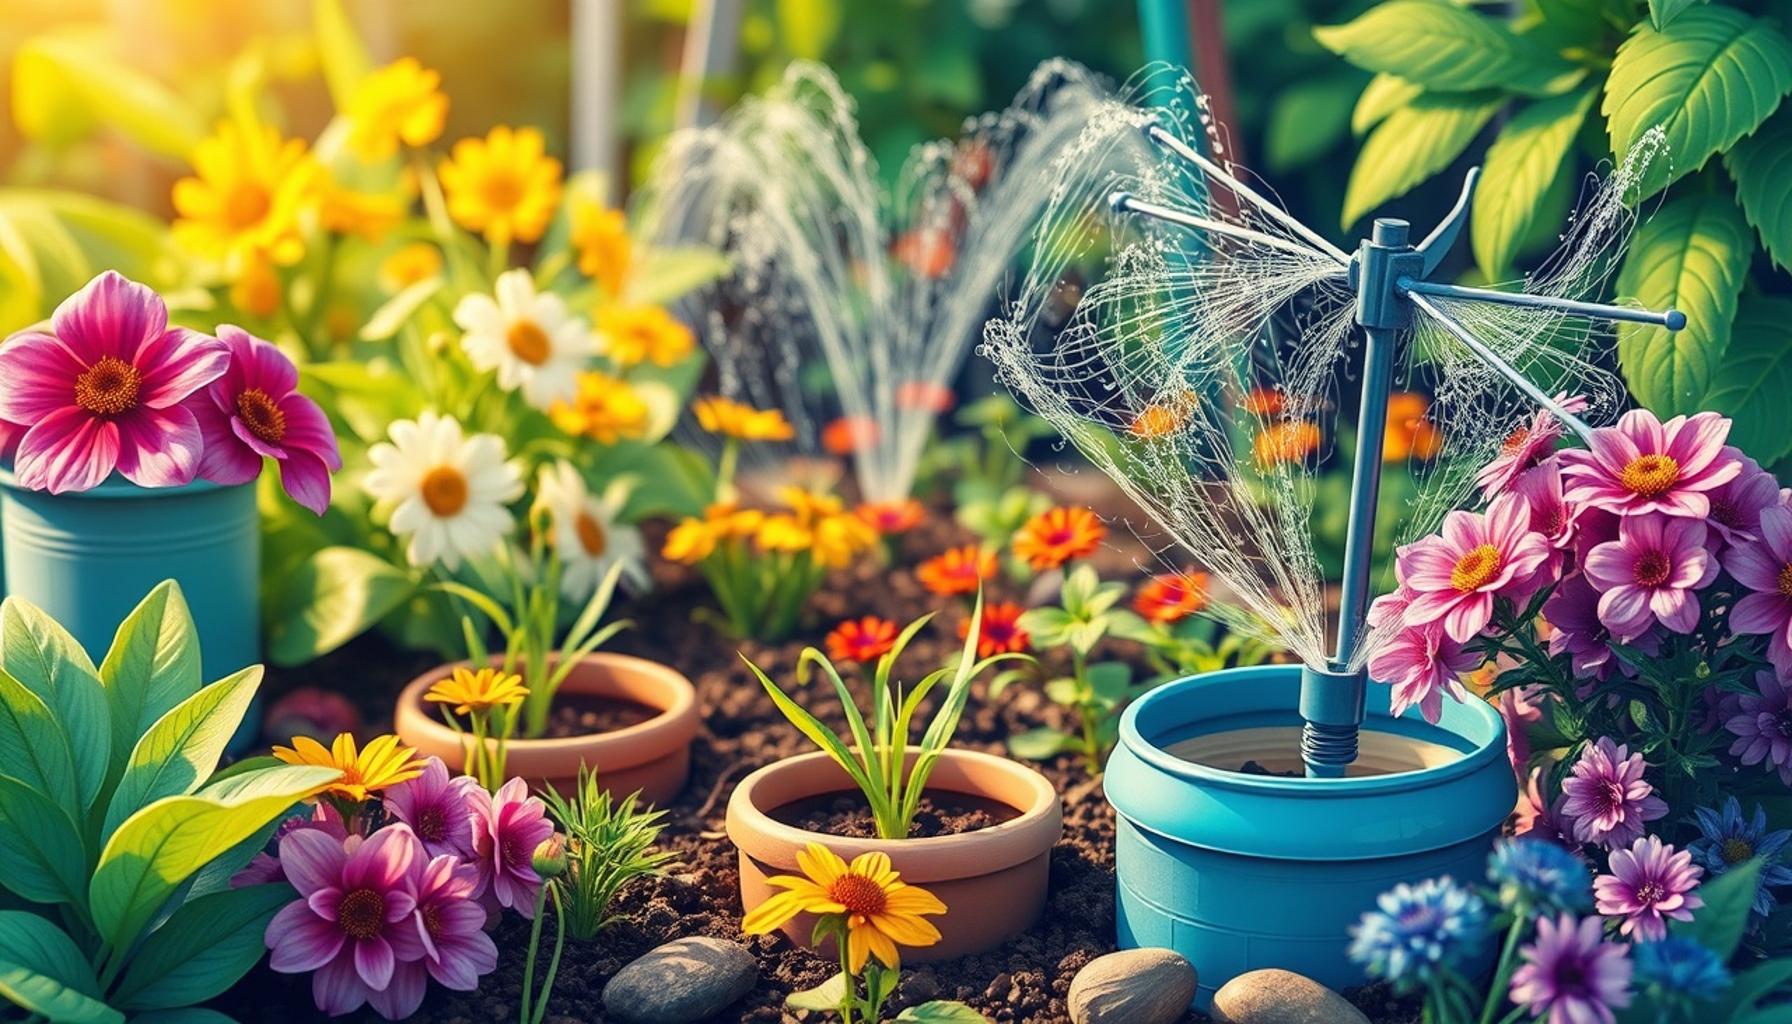
Drip irrigation systems have become a game-changer for gardeners across the United States, particularly in areas prone to drought where water conservation is crucial. By delivering water directly to the root zone of plants, these systems significantly enhance moisture absorption and plant health. For instance, a well-designed drip irrigation setup can reduce water usage by up to 50% compared to traditional overhead watering methods.
One compelling example is the widespread adoption of drip irrigation among California vineyards, where growers have reported not only conservation of water resources but also improved grape quality. Instead of saturating the entire field and risking over-saturation, where roots could rot, growers target the vines directly, allowing for optimal growth and focus on superior flavor profiles.
Water Efficiency
Water efficiency is perhaps the most celebrated advantage of drip irrigation. When water is applied at the plant’s base, evaporation losses are drastically minimized, which benefits both the environment and the gardener’s wallet. In the arid regions of the Southwest, where water bills can skyrocket, this targeted approach can mean significant savings throughout a gardening season. Techniques such as incorporating mulch can further enhance water retention in the soil, making it an ideal combination for arid climates.
Reduced Weeds
Another noteworthy aspect of drip irrigation is its role in reducing weeds. By providing water only to the plants that need it, drip systems deprive weeds of the moisture they require to thrive. This targeted approach minimizes competition between plants and weeds, leading to healthier crops and minimizing the need for pesticides and herbicides. As many organic gardeners can attest, this method is fundamental in maintaining a holistic approach to gardening.
Time-Saving Benefits
Time management is essential for busy individuals. With automatic drip systems, gardeners can schedule watering times — a feature that not only conserves water but also ensures that plants are regularly hydrated, even during vacations or busy periods. Many systems are now equipped with smart technology, enabling users to control watering schedules through mobile apps, adapting to weather conditions or moisture levels detected in the soil.
Setting Up Your Drip Irrigation System
The journey to establishing a drip irrigation system begins with understanding its essential components. A typical setup includes a water source, pressure regulator, filter, and a series of tubing and emitters to deliver water to your plants. When planning your installation, consider the layout of your garden and the watering needs of different plants.
Follow these basic step-by-step installation tips to ensure success:
- Map out your garden layout and identify the types of plants you are watering.
- Purchase necessary components at a garden supply store or online, ensuring compatibility for your garden size.
- Install the drip lines, adjusting the spacing and emitter types based on plant requirements.
Once installed, ongoing maintenance best practices, such as regularly checking for clogs and leaks and ensuring that filters are clean, will extend the life of your system and maintain efficiency.
Embarking on the drip irrigation journey not only enhances the productivity of your garden but also transforms your overall gardening experience. As you explore this sustainable method, remember that efficient planting and watering can lead to lush, vibrant spaces in your backyard, turning your gardening hobby into a thriving oasis.
DISCOVER MORE: Click here to learn about essential gardening tools
The Essential Components of a Drip Irrigation System
Understanding how to use drip irrigation systems begins with an exploration of their essential components. Proper knowledge of each component aids in efficient setup and ensures your garden thrives. A well-constructed drip irrigation system generally consists of the following key elements:
- Water Source: This can be a garden hose, an outdoor faucet, or even a rainwater harvesting system. The water source must be capable of providing adequate pressure to ensure effective watering.
- Pressure Regulator: Since drip irrigation systems operate best at low pressures, a pressure regulator is essential. This device controls the water pressure, ensuring consistent flow to the emitters.
- Filter: To prevent clogs and ensure the efficient operation of your system, a filter is crucial. It removes debris and particles from the water, enhancing the system’s longevity.
- Tubing: Flexible tubing transports water from the source to the plants. Different diameters are available, allowing flexibility based on garden size and layout.
- Emitters: These small devices are responsible for releasing water into the soil. They come in various flow rates and are customized to meet the needs of different plants.
Planning Your Drip Irrigation Layout
After familiarizing yourself with these components, the next step is to plan your drip irrigation layout. Effective planning not only maximizes water efficiency but also ensures your plants receive the necessary hydration throughout the growing season. Here are some tips to consider:
- Map Your Garden: Start by sketching a rough layout of your garden. Include the locations of all your plants, as well as their specific watering needs. This will allow you to tailor the drip system to each plant’s requirements.
- Group Plants by Similar Needs: Consider grouping plants with similar water requirements together. This facilitates the design of an effective drip system that delivers the right amount of water without waste.
- Incorporate Adjustable Emitters: Using adjustable emitters gives you more control over how much water each plant receives, accommodating those that may need more or less moisture.
Installation Steps to Get Started
With a carefully crafted plan in place, you can proceed to the installation process. Setting up your drip irrigation system might seem daunting, but following a systematic approach makes it manageable. Start by gathering your components and following these installation steps:
- Connect the pressure regulator and filter to your water source, ensuring all fittings are secure.
- Lay out the main tubing throughout your garden according to your mapped design.
- Attach emitters along the tubing, placing them strategically at the base of each plant.
- After ensuring all connections are tight, test the system by turning on the water and checking for leaks or clogs.
Proper installation of your drip irrigation system lays the foundation for a successful gardening experience. With these components correctly configured, you will notice increased plant health and reduced water waste, marking your entry into the world of efficient gardening.
Drip irrigation systems are an incredibly efficient way to ensure that your home garden receives the right amount of water, promoting healthy plant growth while conserving resources. To truly harness the benefits of this method, it’s essential to understand the key components and best practices associated with setting up and maintaining a drip irrigation system.First, consider your garden layout. Planning the placement of your drip lines is vital to ensure that water reaches all plants effectively. Start by sketching your garden to identify where different plants are located, paying attention to their specific watering needs. Some plants may thrive on more moisture, while others require less, so customizing the system to fit your garden is necessary.Next, focus on selecting the right components. Most drip irrigation systems include drip tubing, emitters, connectors, and possibly a filter and pressure regulator. Choosing quality materials will help prevent leakages and malfunctions, ensuring your system runs smoothly. For emitters, opt for adjustable flow types if you have plants with varying water requirements. Installation involves positioning the tubing on the soil surface or beneath mulch to prevent evaporation loss. Remember to test the system before fully implementing it, allowing you to check for clogs or uneven watering distribution. After installation, regular maintenance is crucial. Backflushing filters, inspecting for clogs, and adjusting emitter flow rates can significantly enhance the system’s effectiveness.Moreover, understanding irrigation schedules is fundamental to prevent water wastage. Scheduling watering during cooler parts of the day, such as early morning or late evening, minimizes evaporation and allows for better absorption. Consider using a timer or smart irrigation controller, which can automate this process, providing consistent moisture levels.By incorporating these practices, you’ll set a solid foundation for successful drip irrigation in your home garden. As you delve deeper, exploring more advanced techniques like rainwater harvesting or integrating a smart controller can further optimize your gardening experience. With time and effort, drip irrigation will not only improve plant health, but also conserve water, making your gardening endeavor more sustainable.
DISCOVER MORE: Click here for essential pest control tools
Maintaining Your Drip Irrigation System
Once your drip irrigation system is installed, ongoing maintenance becomes crucial to ensure its efficiency and longevity. Despite the low maintenance nature of these systems, regular checks can prevent larger issues down the road and maximize their effectiveness. Here are some essential maintenance pointers:
- Regularly Check Emitters: Inspect emitters for blockages, as soil, algae, and mineral deposits can clog them over time. Utilize a small piece of wire or a needle to clear any obstructions that may prevent water flow.
- Monitor Water Pressure: Fluctuations in water pressure can affect the performance of the system. Use a pressure gauge to regularly check the pressure levels and ensure they remain within the ideal range for your specific emitters, often between 10 to 30 psi.
- Seasonal Preparations: Before winter, it’s essential to drain and shut down your system to prevent freezing and possible damage. Conversely, in the spring, a thorough inspection and testing of all components should be conducted to prepare for the growing season.
Watering Schedule and Efficiency
Creating an efficient watering schedule is another fundamental aspect of managing your drip irrigation system. The goal is to provide plants with consistent moisture while avoiding overwatering. Here are some guidelines to consider:
- Water Early or Late: To minimize evaporation, it’s best to water your garden early in the morning or late in the evening. This allows water to penetrate deeply into the soil before heat levels rise.
- Use a Timer: An automatic timer can simplify your watering process, ensuring consistent intervals and durations. Options range from simple mechanical timers to advanced smart irrigation controllers that adjust watering based on weather conditions.
- Adjust Based on Plant Growth: Monitor the growth stages of your plants, as watering needs change. Seedlings require more consistent moisture, while established plants may need deeper, less frequent watering.
Common Challenges and Solutions
Even with proper maintenance and planning, issues may arise while using a drip irrigation system. Here are some common challenges and practical solutions:
- Clogged Emitters: If you notice uneven watering or dry spots in your garden, clogged emitters are likely the culprit. Regular cleaning, as mentioned earlier, and using high-quality filters can help mitigate this problem.
- Inconsistent Water Distribution: Check if the tubing is kinked or not laid out properly, as this can lead to varying water flow. Adjust the layout as needed to guarantee uniform water distribution.
- Soil Types: Different soil types absorb water at varying rates. Sandy soils drain quickly and may require more frequent watering, whereas clay soils retain moisture longer. Make necessary adjustments to your watering schedule based on your soil type.
By staying proactive about maintenance and understanding the specific watering requirements of your plants, you can ensure that your drip irrigation system becomes an invaluable tool in your home gardening endeavors. This knowledge will not only save time but also contribute to nurturing a vibrant, healthy garden.
DISCOVER MORE: Click here to learn about the benefits of mulching
Conclusion
In summary, implementing a drip irrigation system in your home garden can be a game-changer for new and seasoned gardeners alike. Its ability to deliver water directly to plant roots not only conserves resources but promotes healthier growth by minimizing evaporation and reducing weed problems. By following the outlined steps from initial planning and installation to ongoing maintenance, you can create a synchronized watering system tailored to your garden’s unique needs.
Understanding the intricacies of watering schedules and being aware of common challenges is essential. Correctly timing your watering sessions, particularly during the cooler parts of the day, amplifies efficiency and effectiveness. Moreover, troubleshooting issues like clogged emitters or inconsistent water distribution with practical solutions ensures that your plants receive uniform care.
As you embark on this journey, remember that every garden is different. Conducting regular assessments and adjusting your system may be necessary as your plants evolve through their growth stages. This adaptability will not only enhance your gardening skills but also foster a bond with your plants, ensuring they are well-nourished and thriving.
Armed with this knowledge, take the plunge into the world of drip irrigation. By investing in such a system, you’re setting the stage for a fruitful garden that reflects your dedication and commitment to sustainable gardening practices. With time, patience, and guidance, your garden will flourish like never before. Happy gardening!